Creating Time-lapse Videos with Instagrams New App Hyperlapse by Matt Coch
Hyperlapse is a brand new time-lapse app from the makers of Instagram. There are plenty of other apps already available to shoot time-lapses, some much better than others. I currently rotate and use three different apps myself for various features and situations.
Typically when I shoot a time-lapse, I find my subject matter, set my frame rate within the app, lock my phone onto a mini tripod, press record, and wait. My time-lapses on average usually run about 30 seconds of video which can take up to an hour of actual recording time to achieve, depending on my camera settings. What makes Hyperlapse different from other time-lapse apps is its simplicity and ease of use.
Open the app and it opens straight to the record screen. No options, no settings to change, just a record button.
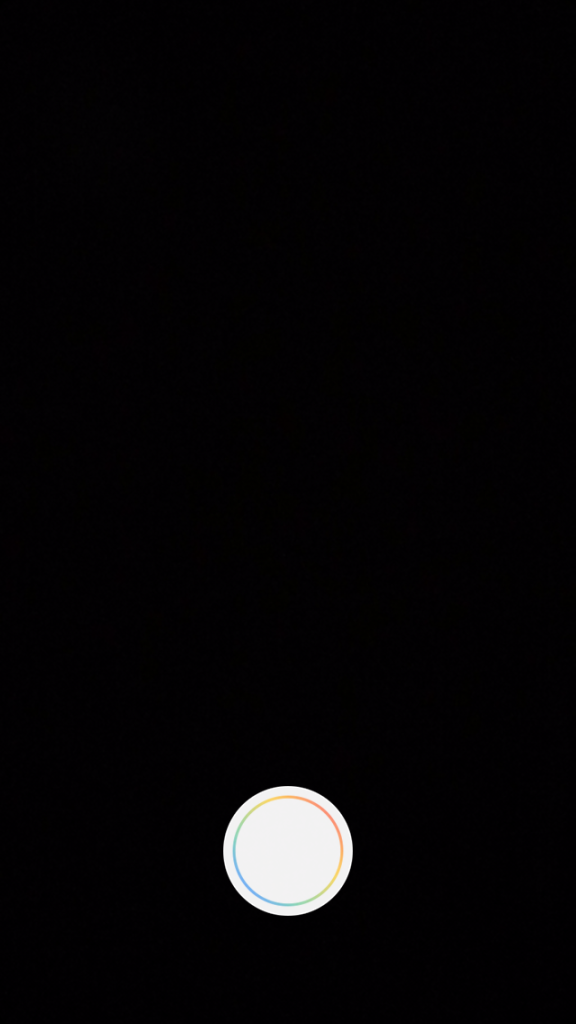
While in record mode, their are two small timers running at the bottom of he screen. On the left, the timer tells you how long you have been recording in real time. The timer on the right tells you the run time of your time lapse footage. That’s a really nice feature that I’m surprised other time lapse apps don’t have. Most only tell you how much footage has been shot.
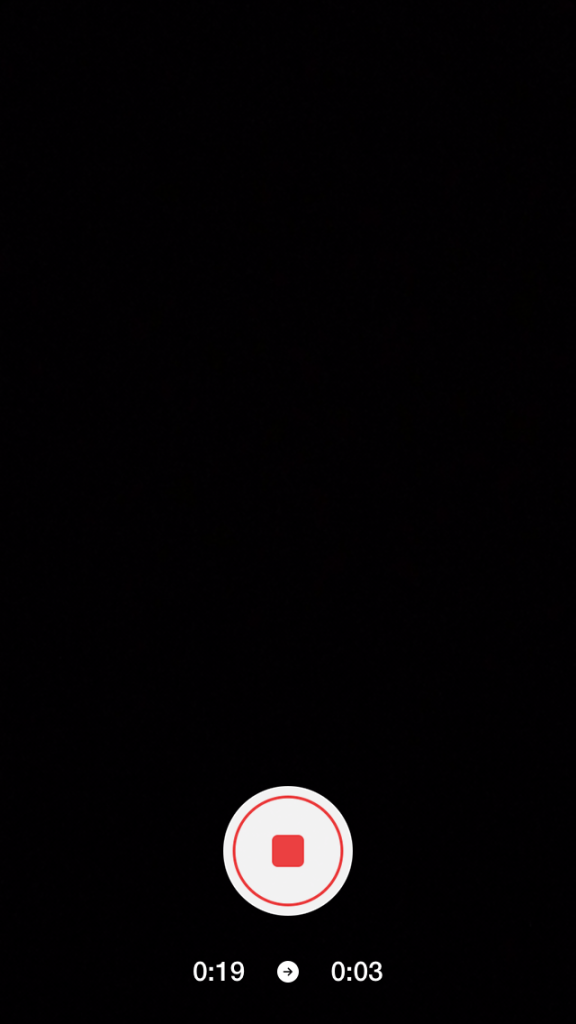
But here there’s no second guessing. After your done recording and press stop, you are prompted with the only option you’re given to control and edit your time-lapse. Pick the speed you want it played back at. You can select 1x, 2x, 4x, 6x, 8x, 10x, and 12x speeds. You are allowed to preview your footage at the different speeds. But choose your selected speed wisely, because once you do, there is no going back.
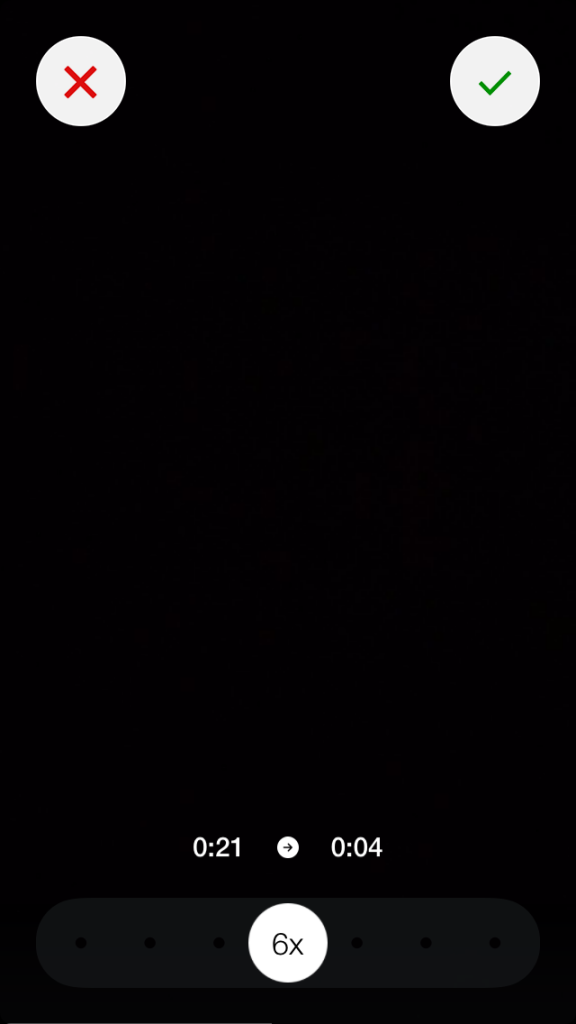
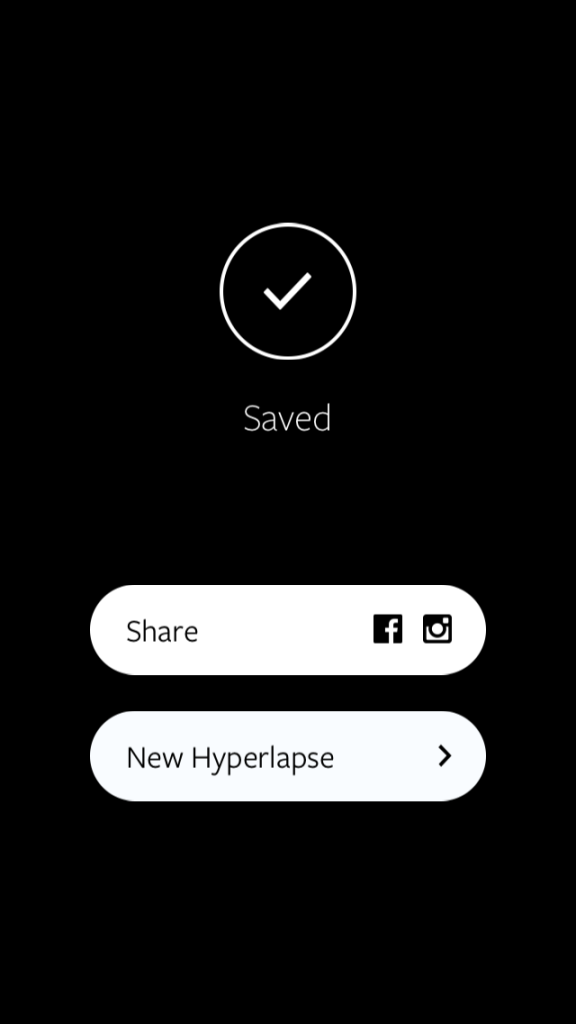
The footage is then processed, saved to your camera roll and you are asked if you’d like to share your footage or start a new time lapse.
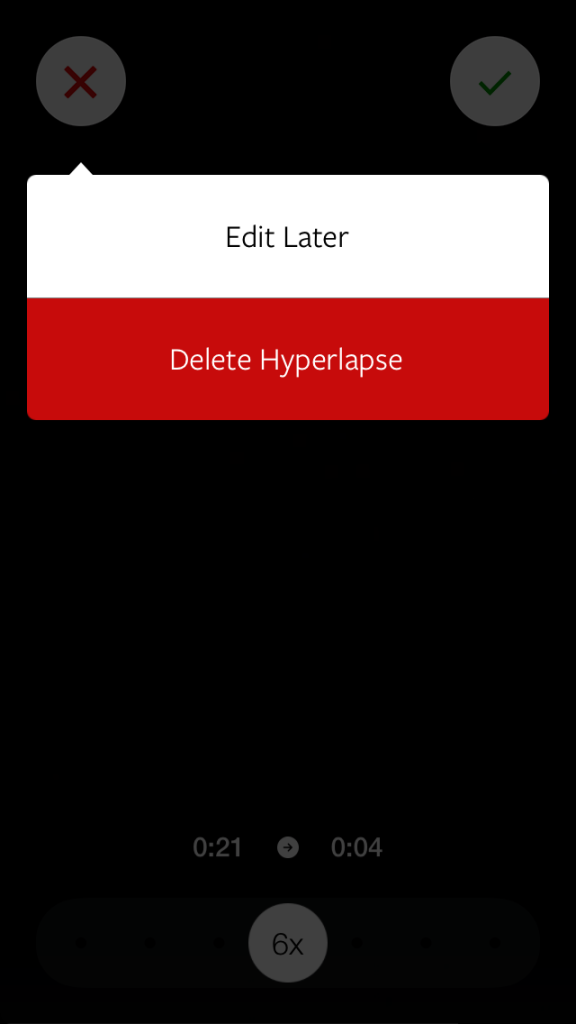
For whatever reason, if you choose not to decide what speed you’d like to save your footage at you do have the option of clicking the red ‘x’ in the top left corner after shooting your video. You’ll be asked if you’d like to edit later or delete the footage completely.
That’s all there is to it.
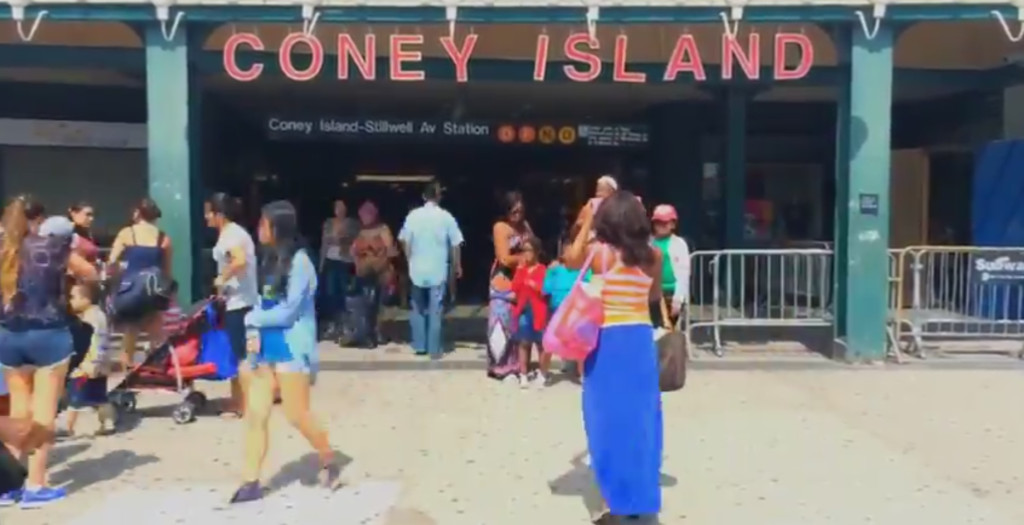
But how does handle? I took Hyperlapse for a spin on a recent trip to Coney Island in Brooklyn and put it to the test. Where the app truly excels is with its built in automatic digital image stabilization. What does that mean? It enables you to handhold your phone while taking your time lapse. No more tripods! With this stabilization technology the app almost begs you to move while recording your video to some pretty amazing and exciting results. In my test videos all scenes were taken while hand-holding, something I would never even think about attempting with other time lapse apps. I’ve edited my sample videos together below using iMovie.
All in all, Hyperlapse is an amazing simple and easy tool to use to capture time lapse video. Although it has limited, almost no options or settings to fine tune your video it makes up for lack of features with its digital stabilization, opening the doors for new types of time lapses. Although I prefer to have as much control as possible on my final images and videos, the freedom to just shoot and focus on the subject matter and not worry about settings here is welcome. Hyperlapse may not be good for all time lapses because of its lack of features, but it’s a welcome new app to add to my tool bag when I’m out and about shooting. Have you played with Hyperlapse yet? Let me know your thoughts in the comments below. I’d love to know what you think.
About Author

Latest stories
 CommunityDecember 31, 2020We Bid Adieu
 Alexandra PrestonDecember 31, 2018December Wishes from Grryo
 StoriesMarch 11, 2018The Marigoldroadblog Project by Adjoa Wiredu
 Antonia BaedtDecember 22, 2017‘Tis a Jolly Grryo Christmas

